|
Nice work! What will be the color when it't completely ready?
|
Quote:
All black to contrast the chrome |
Closed up the gap under both doors. Some light sanding still to come.
  Also posted Part 16 on Youtube https://www.youtube.com/watch?v=JIeS9brt95g |
Apparently Block Hugger headers and urethane engine mounts do not play well together!
   Wrapped the headers where they immediately surround the motor mounts. If the mounts do not melt any further, then I will install new ones.  Also boxed in the area between the front of the radiator and the back of the side air scoop to keep hot engine compartment air away from the front of the radiator.   http://www.BenModified.com |
any updates?
|
Quote:
I do! We have had many 100f / 38c days in a row so I added some supplemental cooling in anticipation of the additional heat created by the air conditioner (to be installed). Located in the right side scoop.        Also working on some Mud Flaps  Been spending a bit of time finishing up a stalled project from a few years back. [IMG] 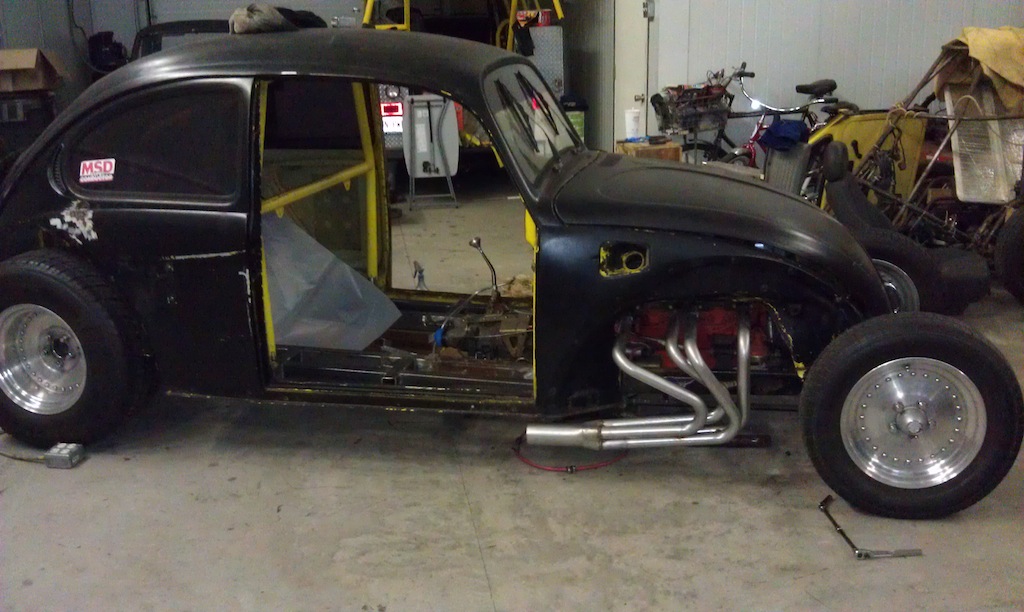 IMAG0541 by Ben Modified, on Flickr[/IMG] The body got stuck at the Sandblasters shop for about a year....but finally going back together. [IMG] 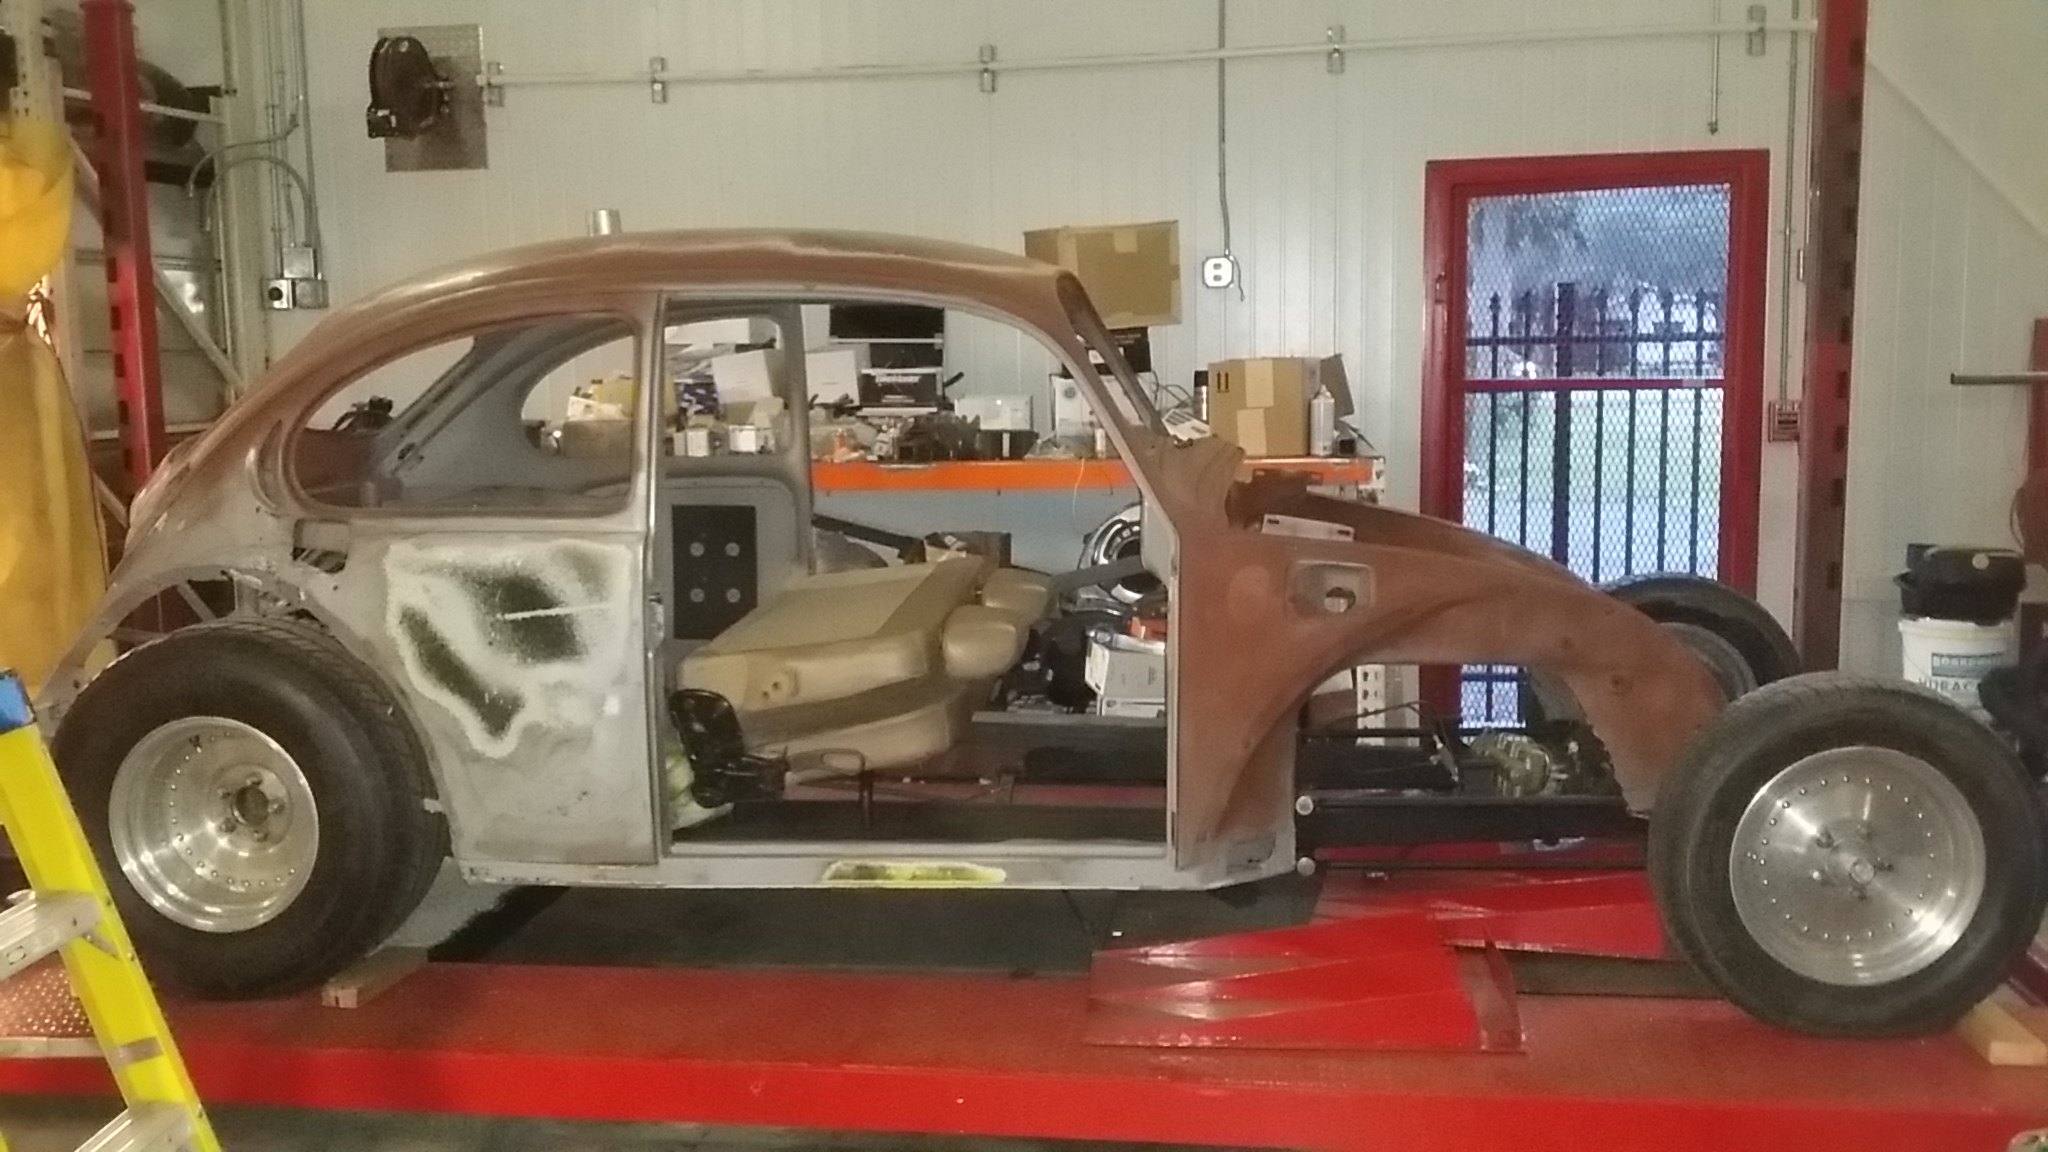 20160114_174332 by Ben Modified, on Flickr[/IMG] Many rust repair spots [IMG] 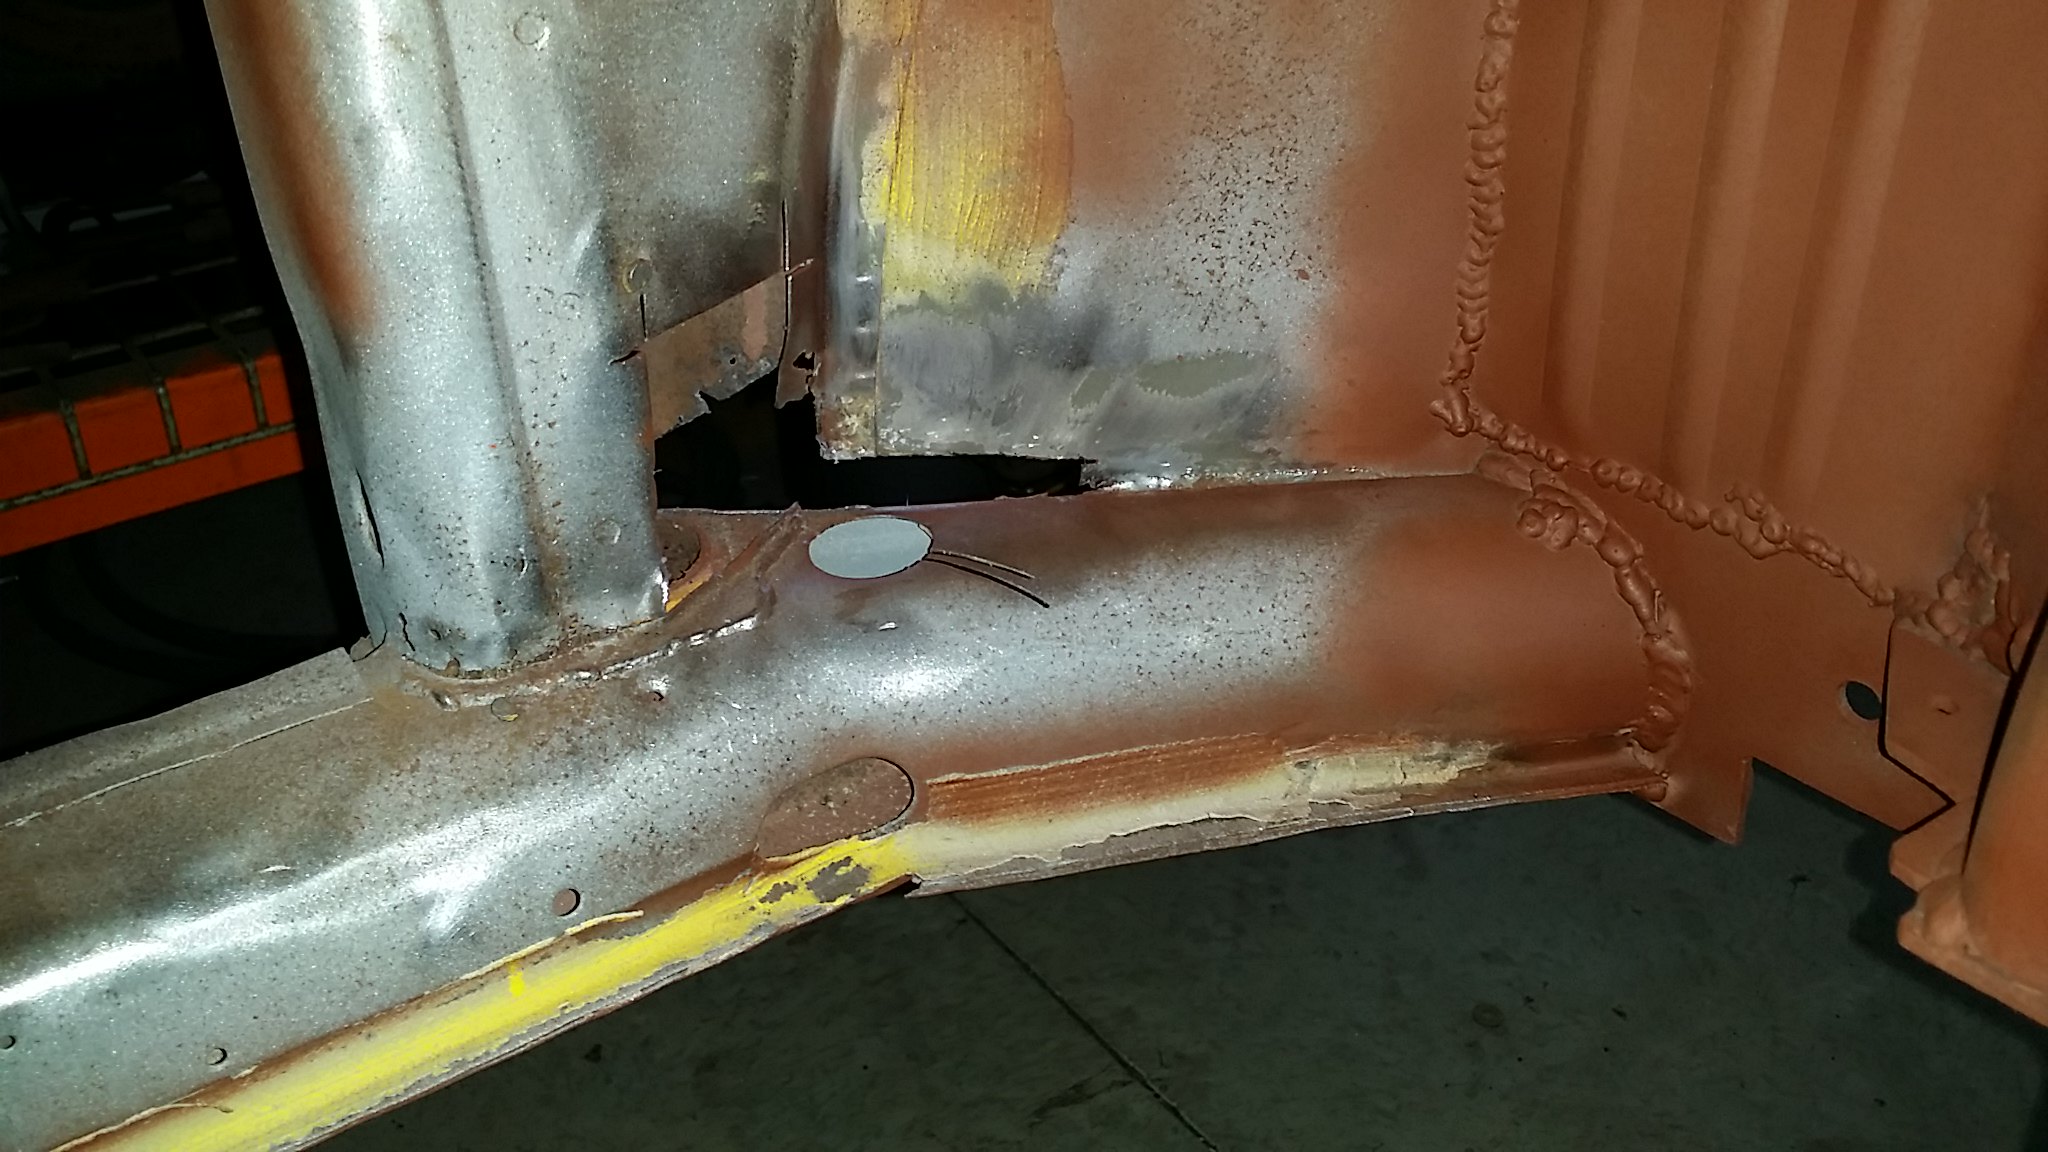 20160713_165219 by Ben Modified, on Flickr[/IMG] Swapped out the Automatic for a 5 Speed 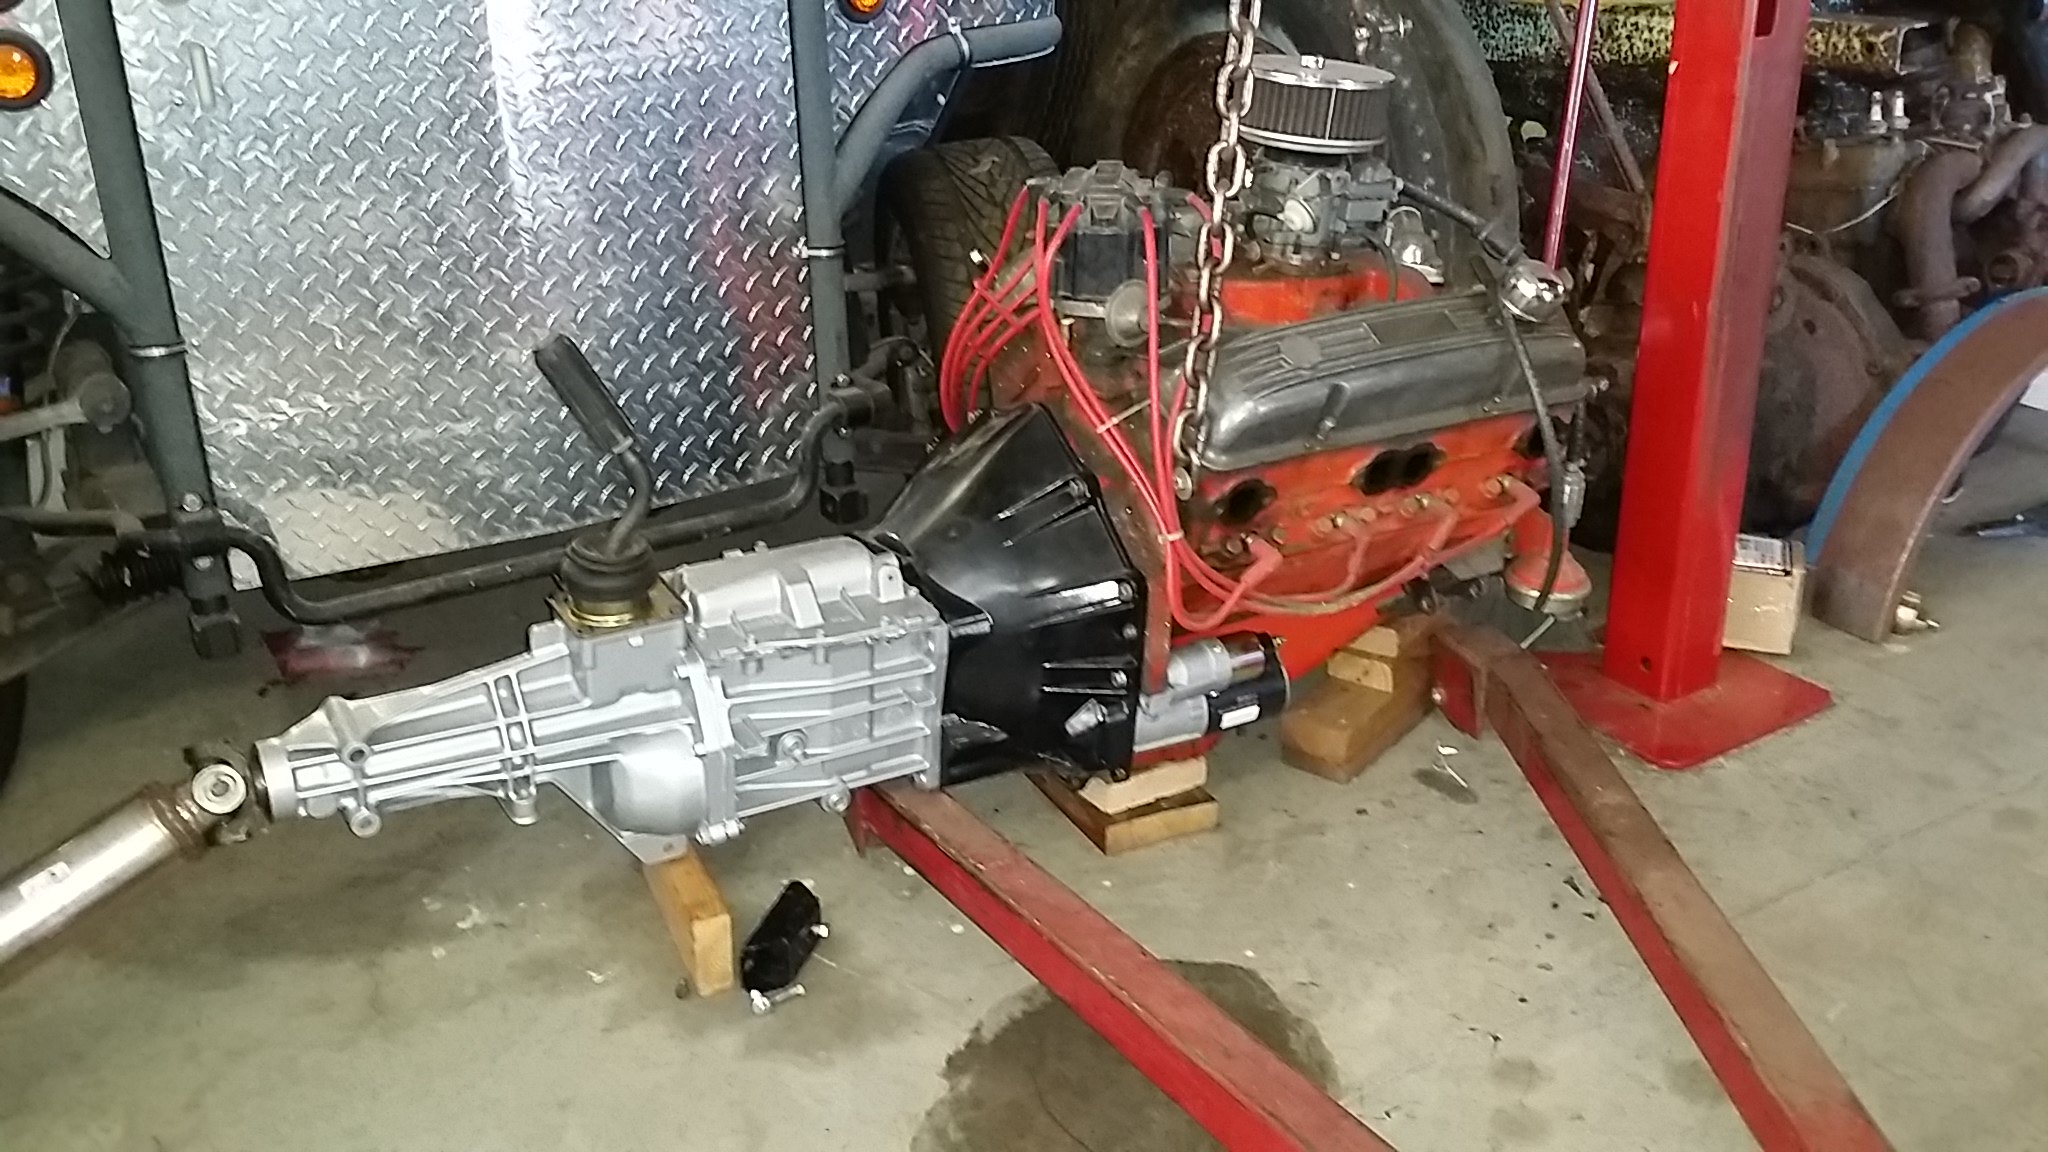 20160719_172124 by Ben Modified, on Flickr [IMG] 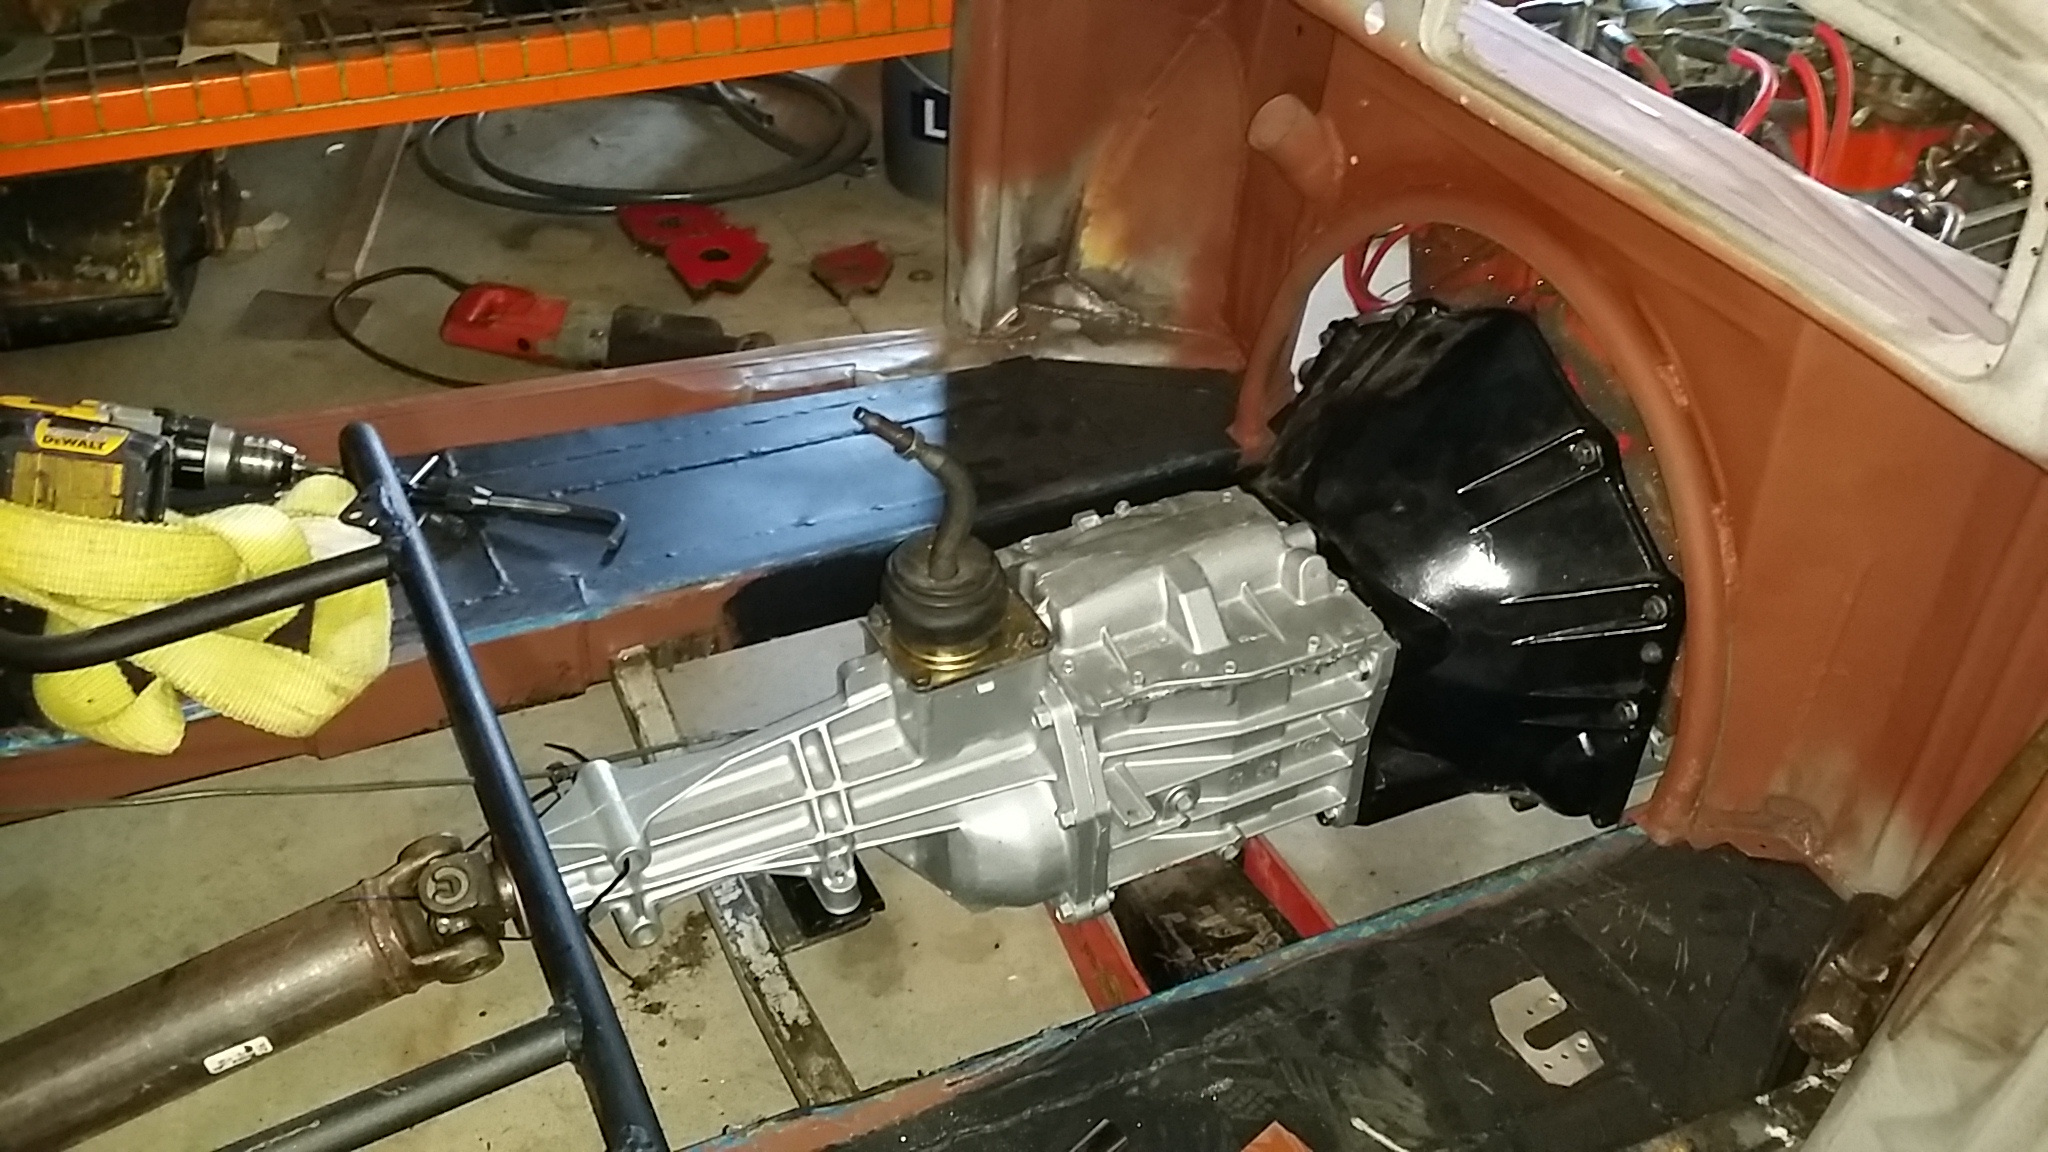 20160720_150055 by Ben Modified, on Flickr[/IMG] http://www.BenModified.com |
Oeh thats even better then the Cab! Nice! :thumbup:
|
what color will you paint that?
|
Quote:
I am thinking about a high impact green, similar to the late model camaro green. |
[COLOR=Sienna]I had to reposition the engine mounts on the Bug (long story involving the harmonic balancer) which meant that I also had to rework the headers [/COLOR]
[IMG] 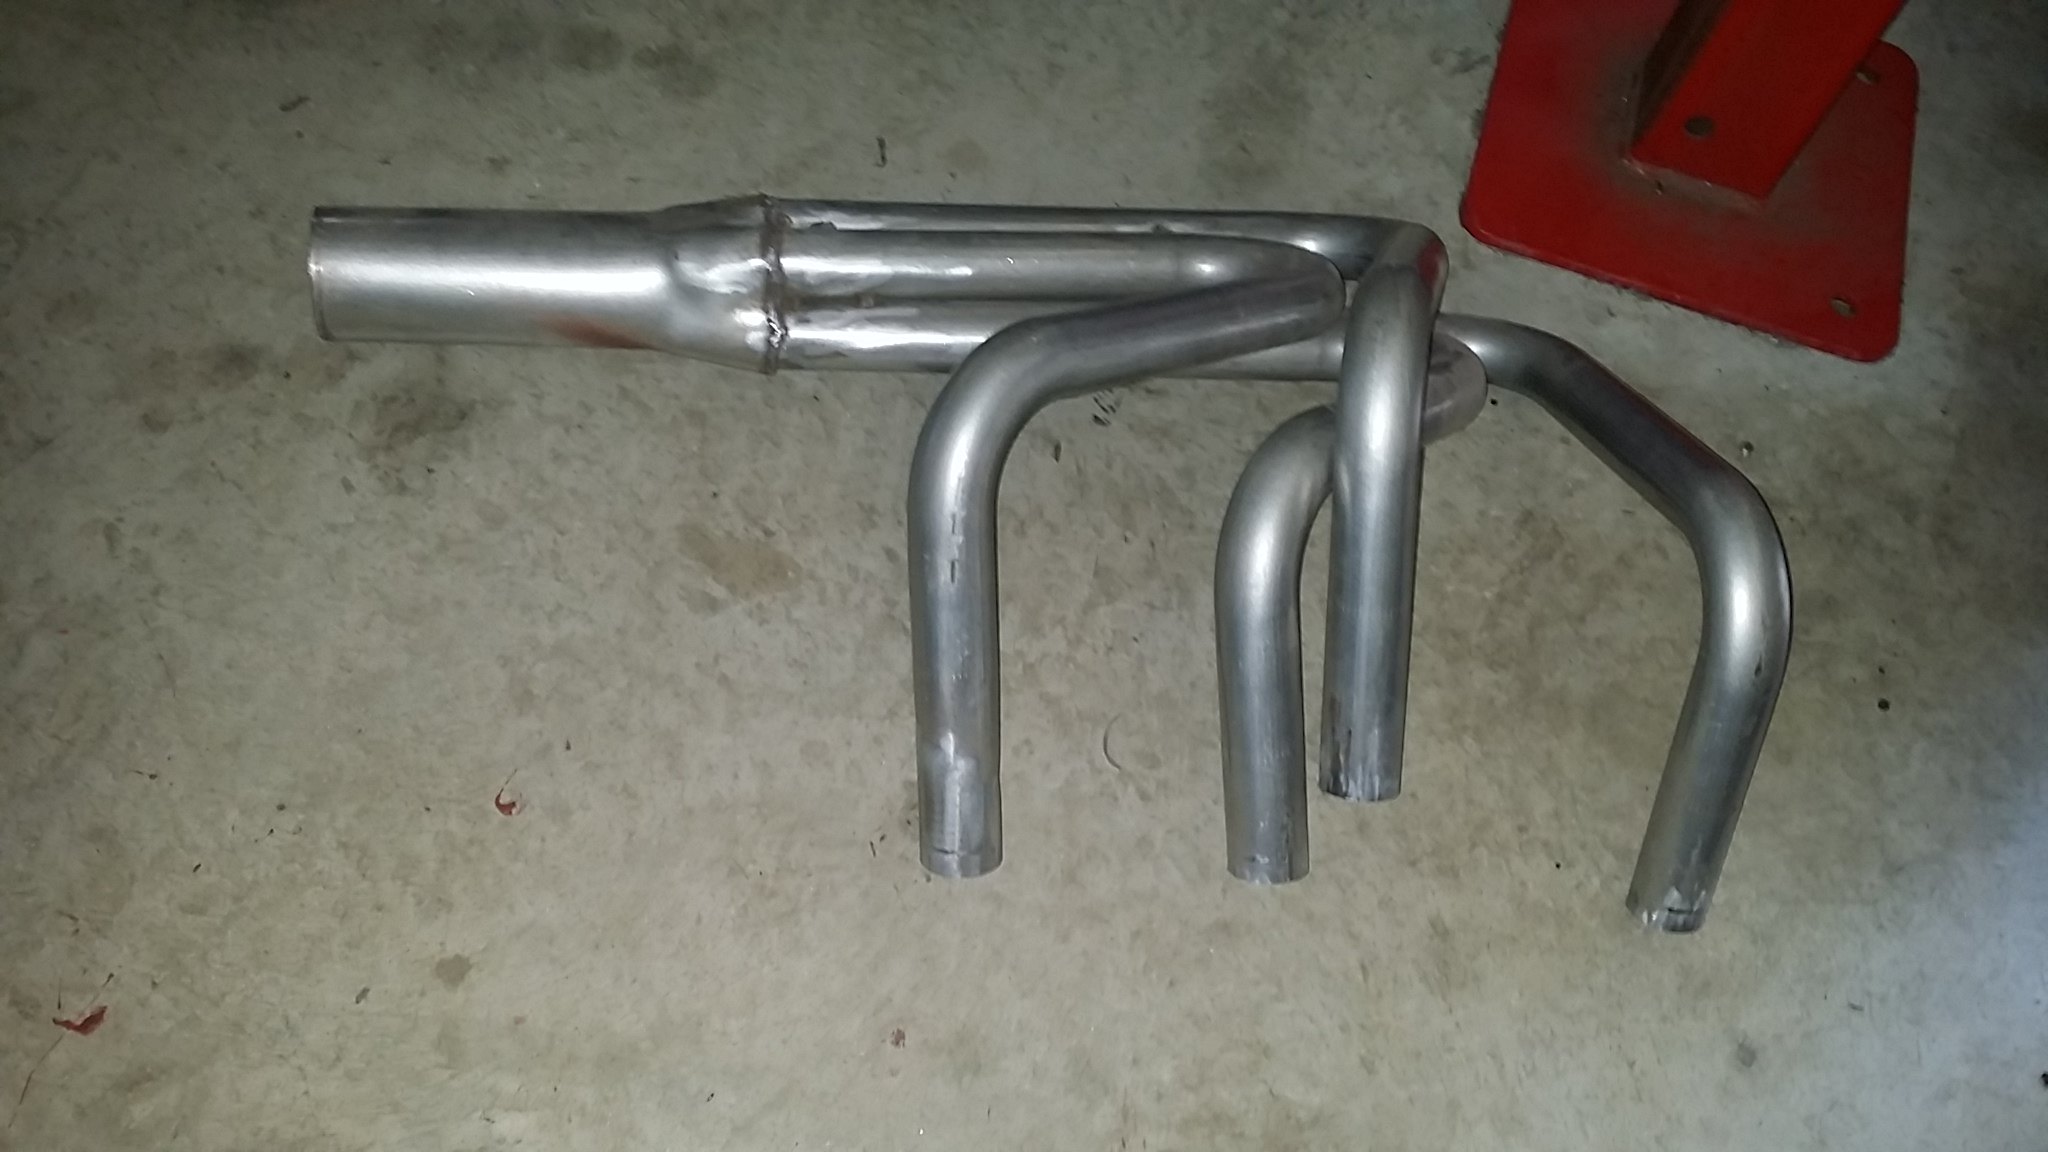 20160811_102057 by Ben Modified, on Flickr[/IMG] [IMG] 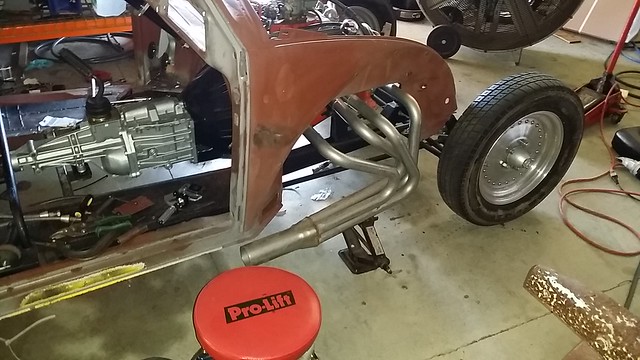 20160815_150838 by Ben Modified, on Flickr[/IMG] [IMG] 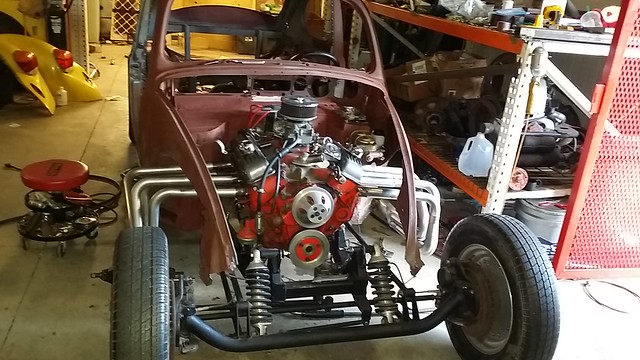 20160815_150850 by Ben Modified, on Flickr[/IMG] Also adapted a clutch pedal and hydraulic system to the previous automatic setup [IMG] 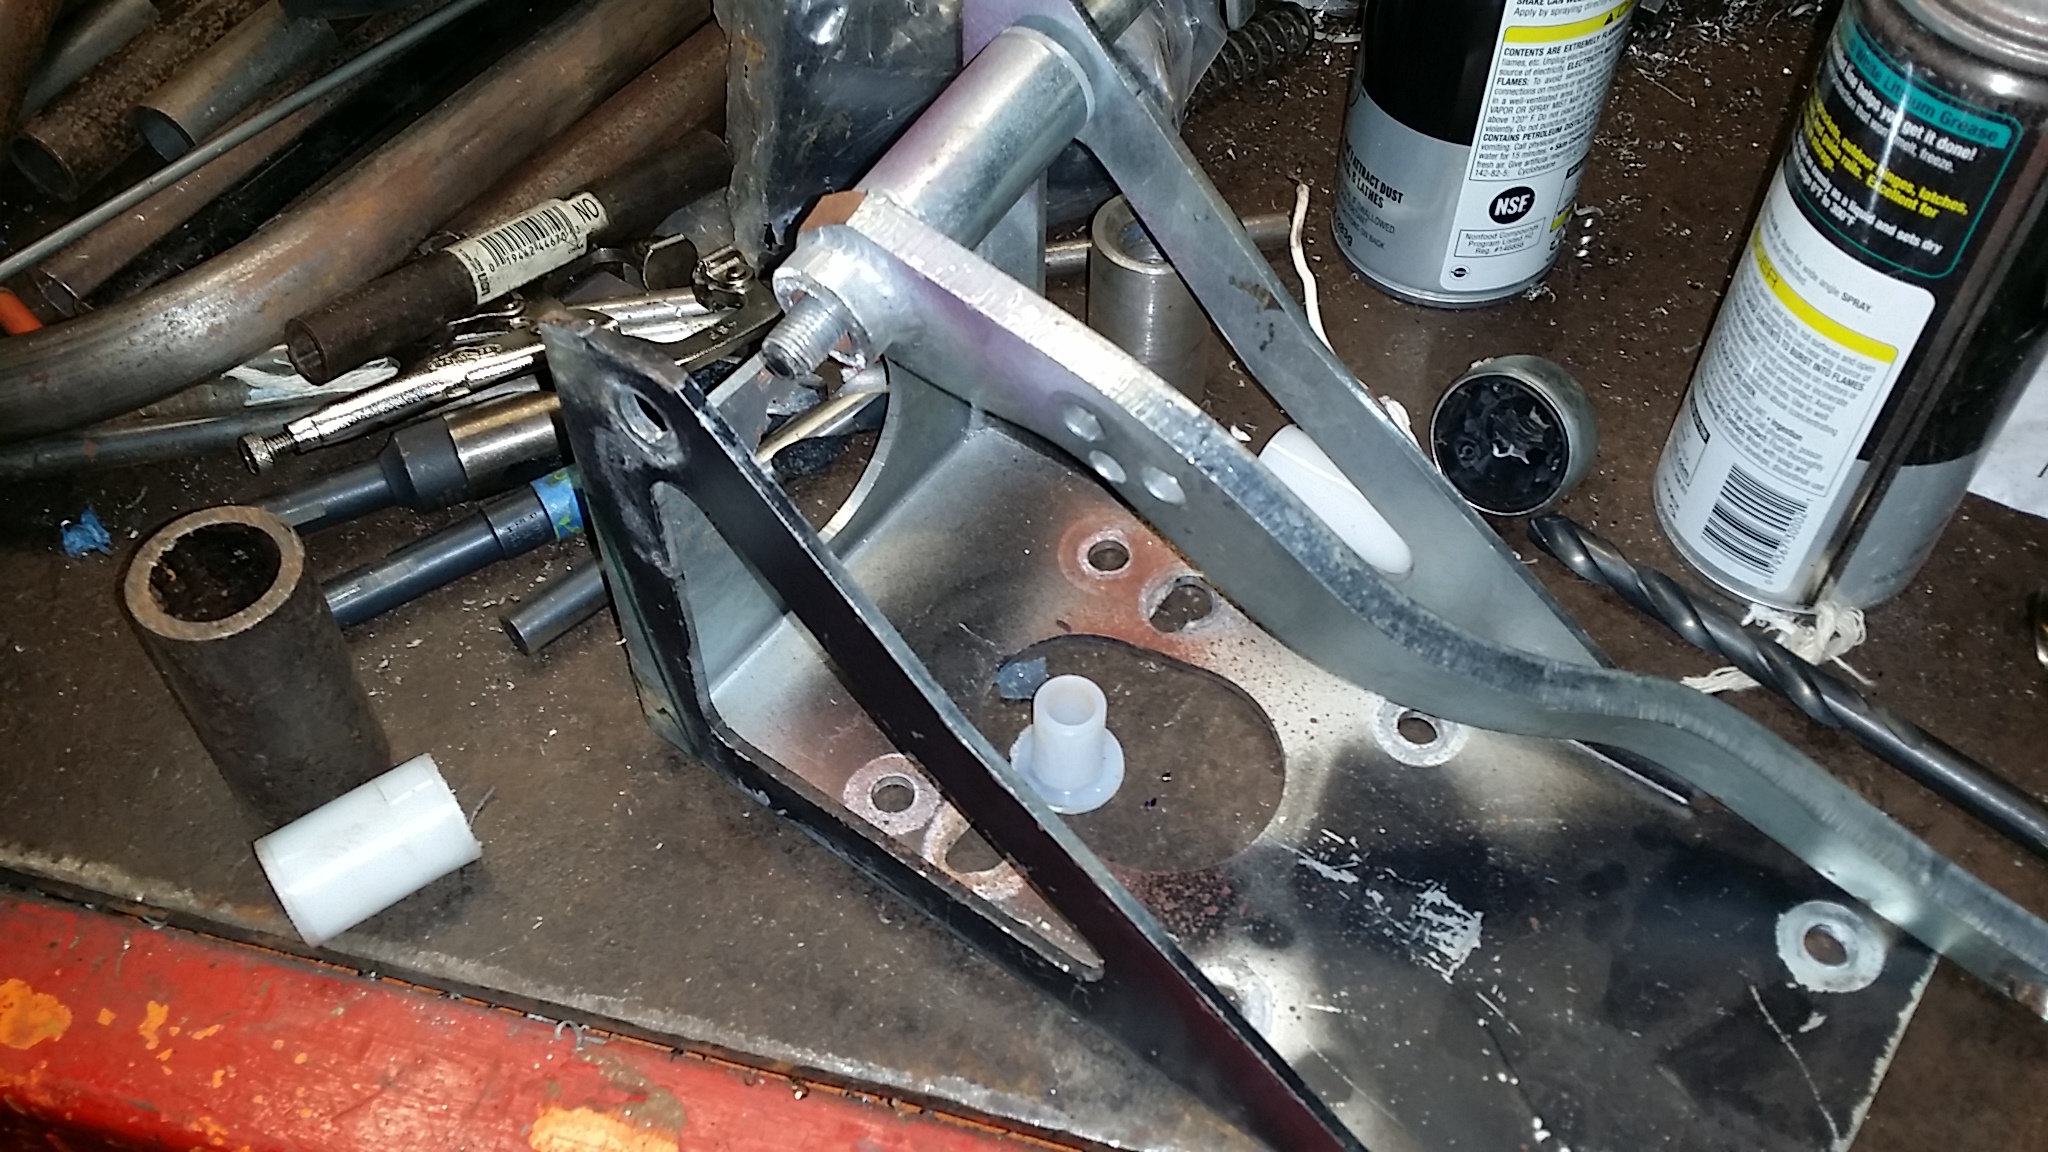 20160803_125259 by Ben Modified, on Flickr[/IMG] [IMG] 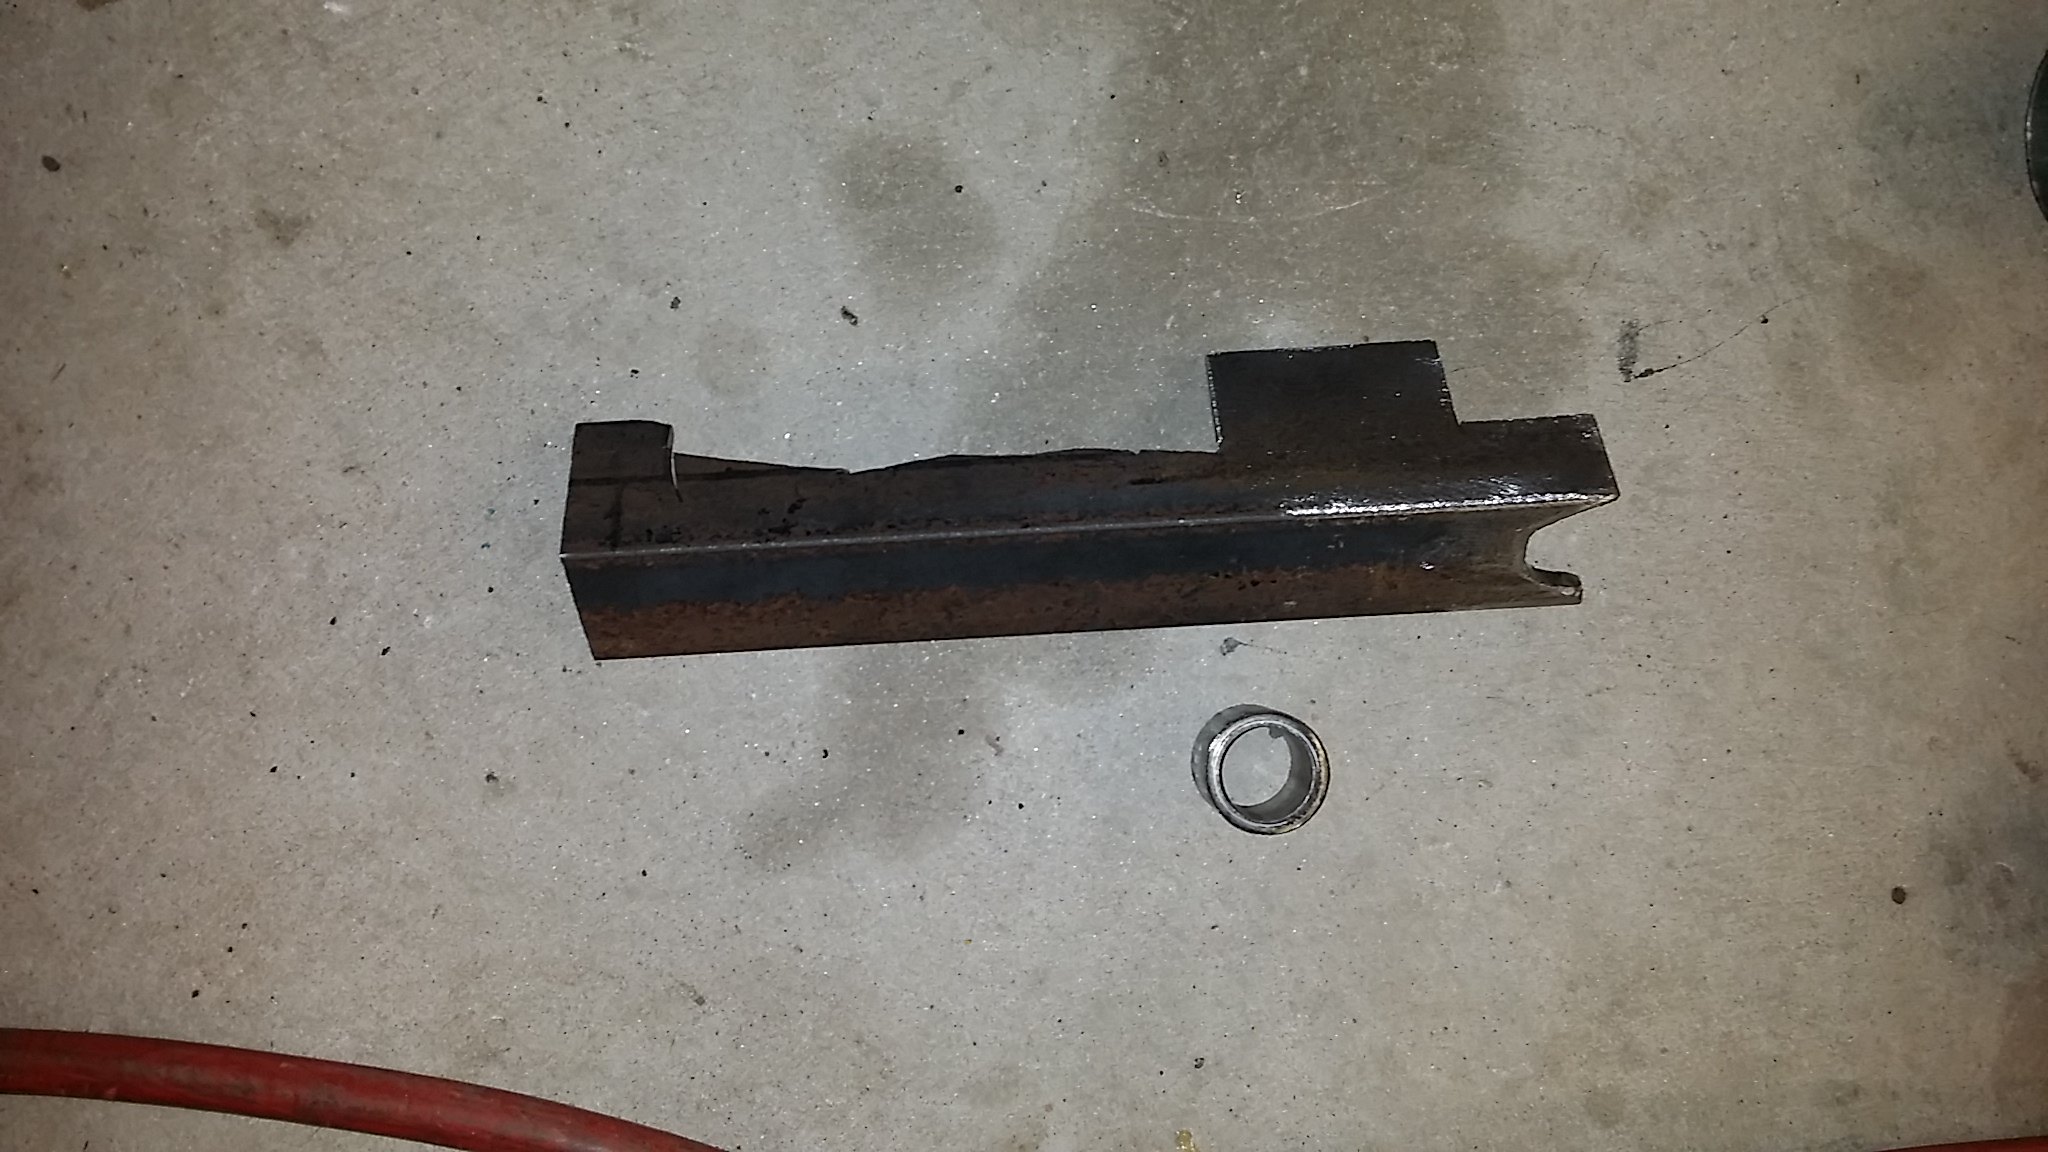 20160803_125328 by Ben Modified, on Flickr[/IMG] [IMG] 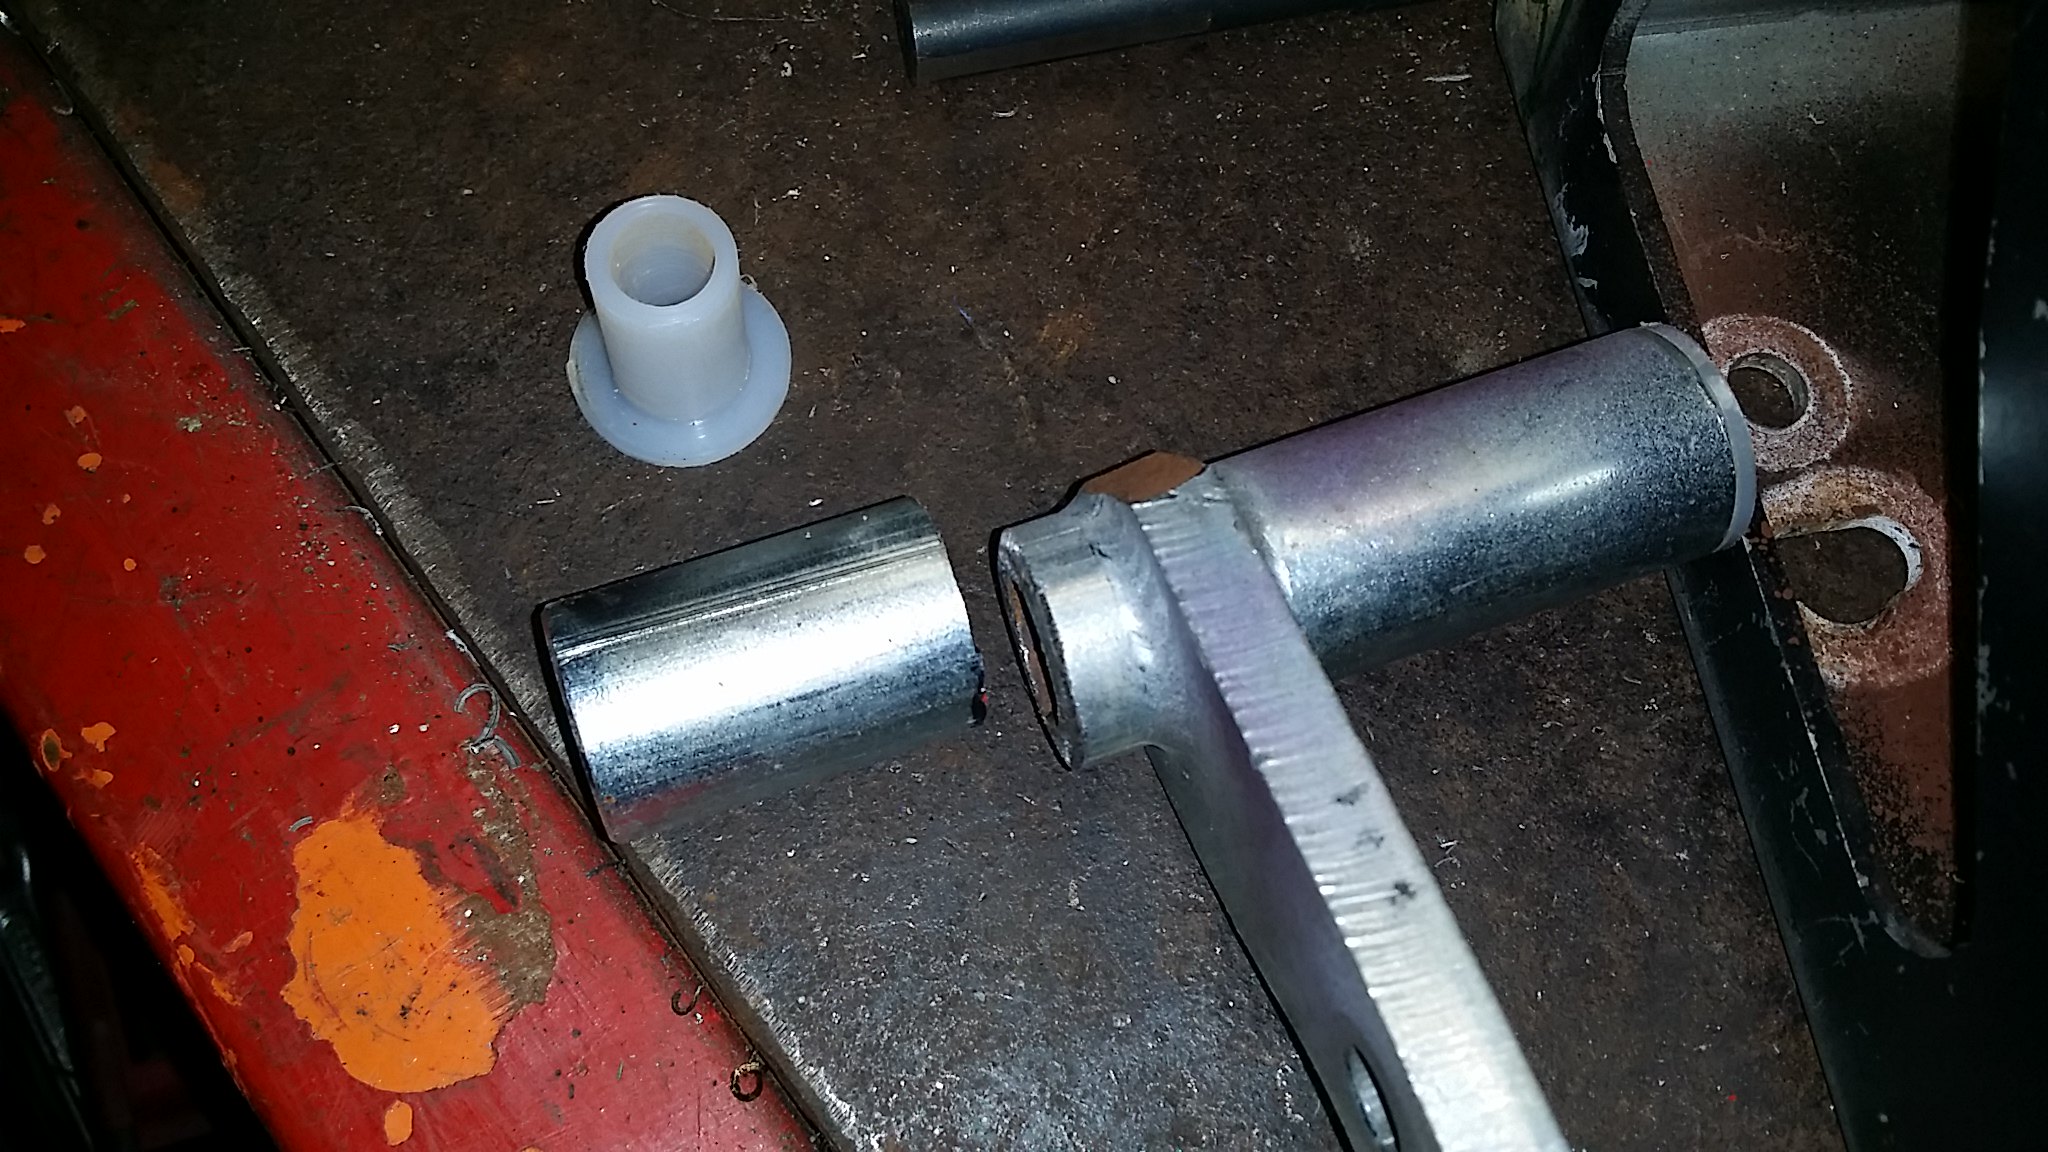 20160803_125555 by Ben Modified, on Flickr[/IMG] [IMG] 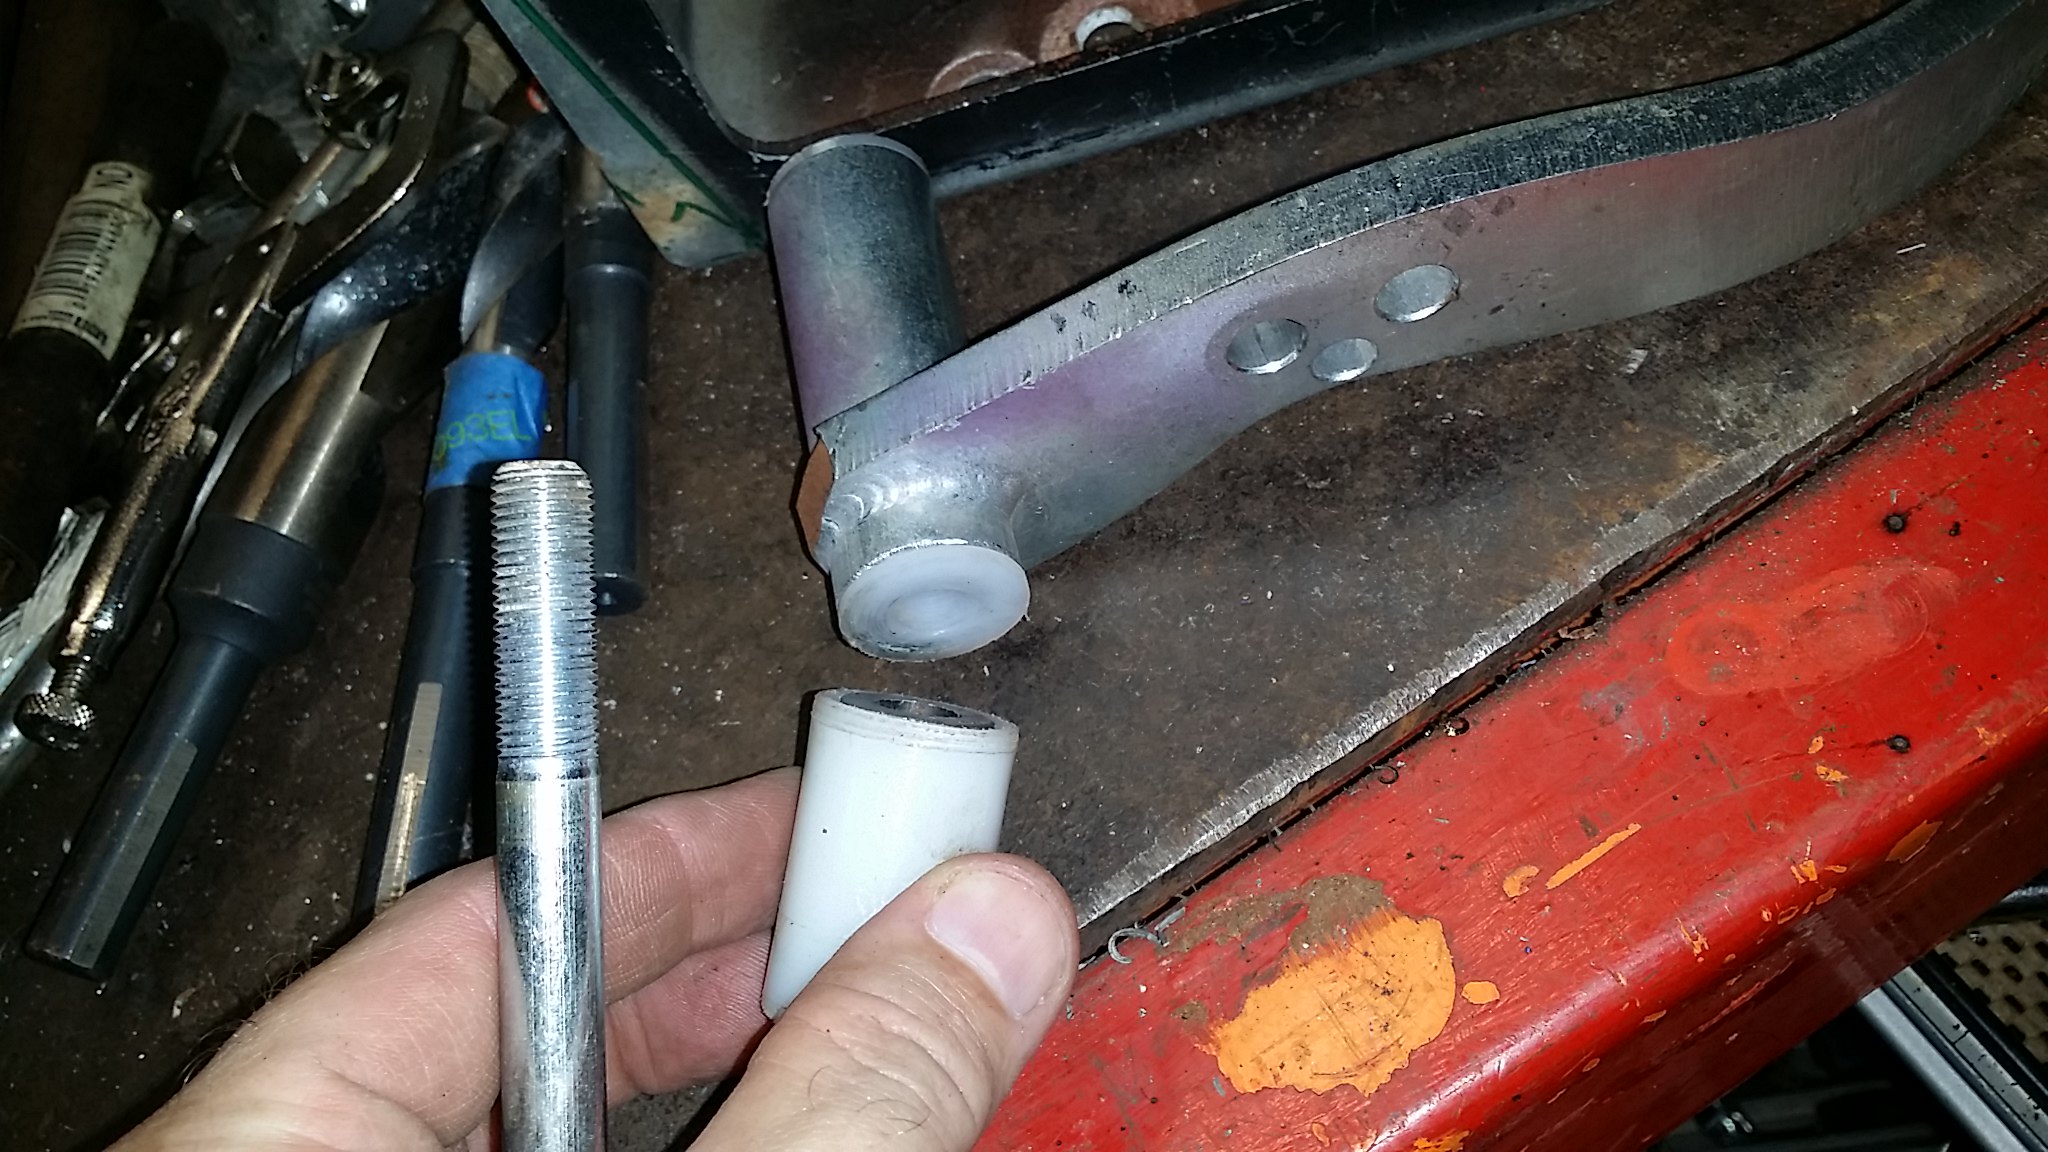 20160803_125806 by Ben Modified, on Flickr[/IMG] [IMG] 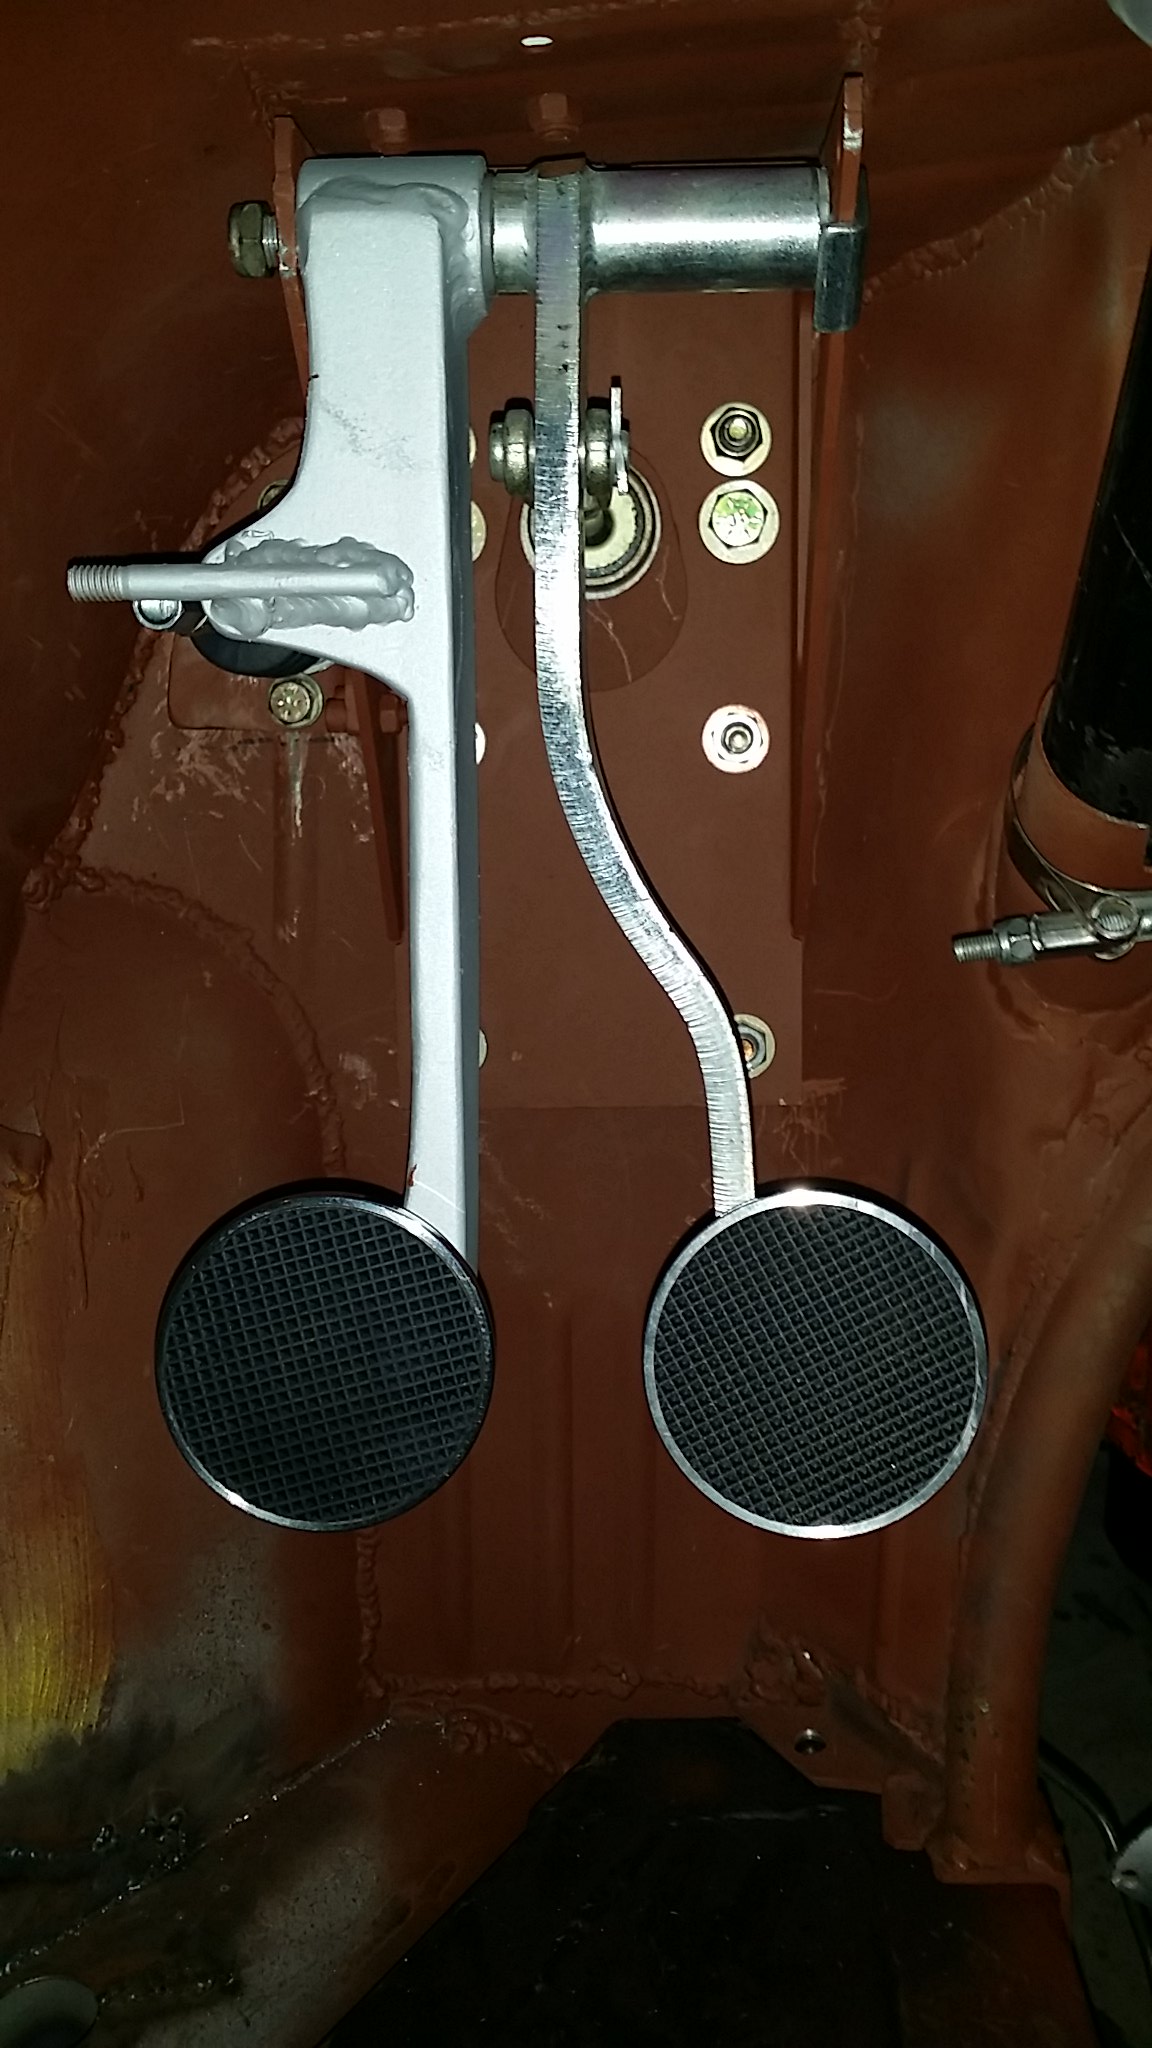 20160810_172035 by Ben Modified, on Flickr[/IMG] [IMG] 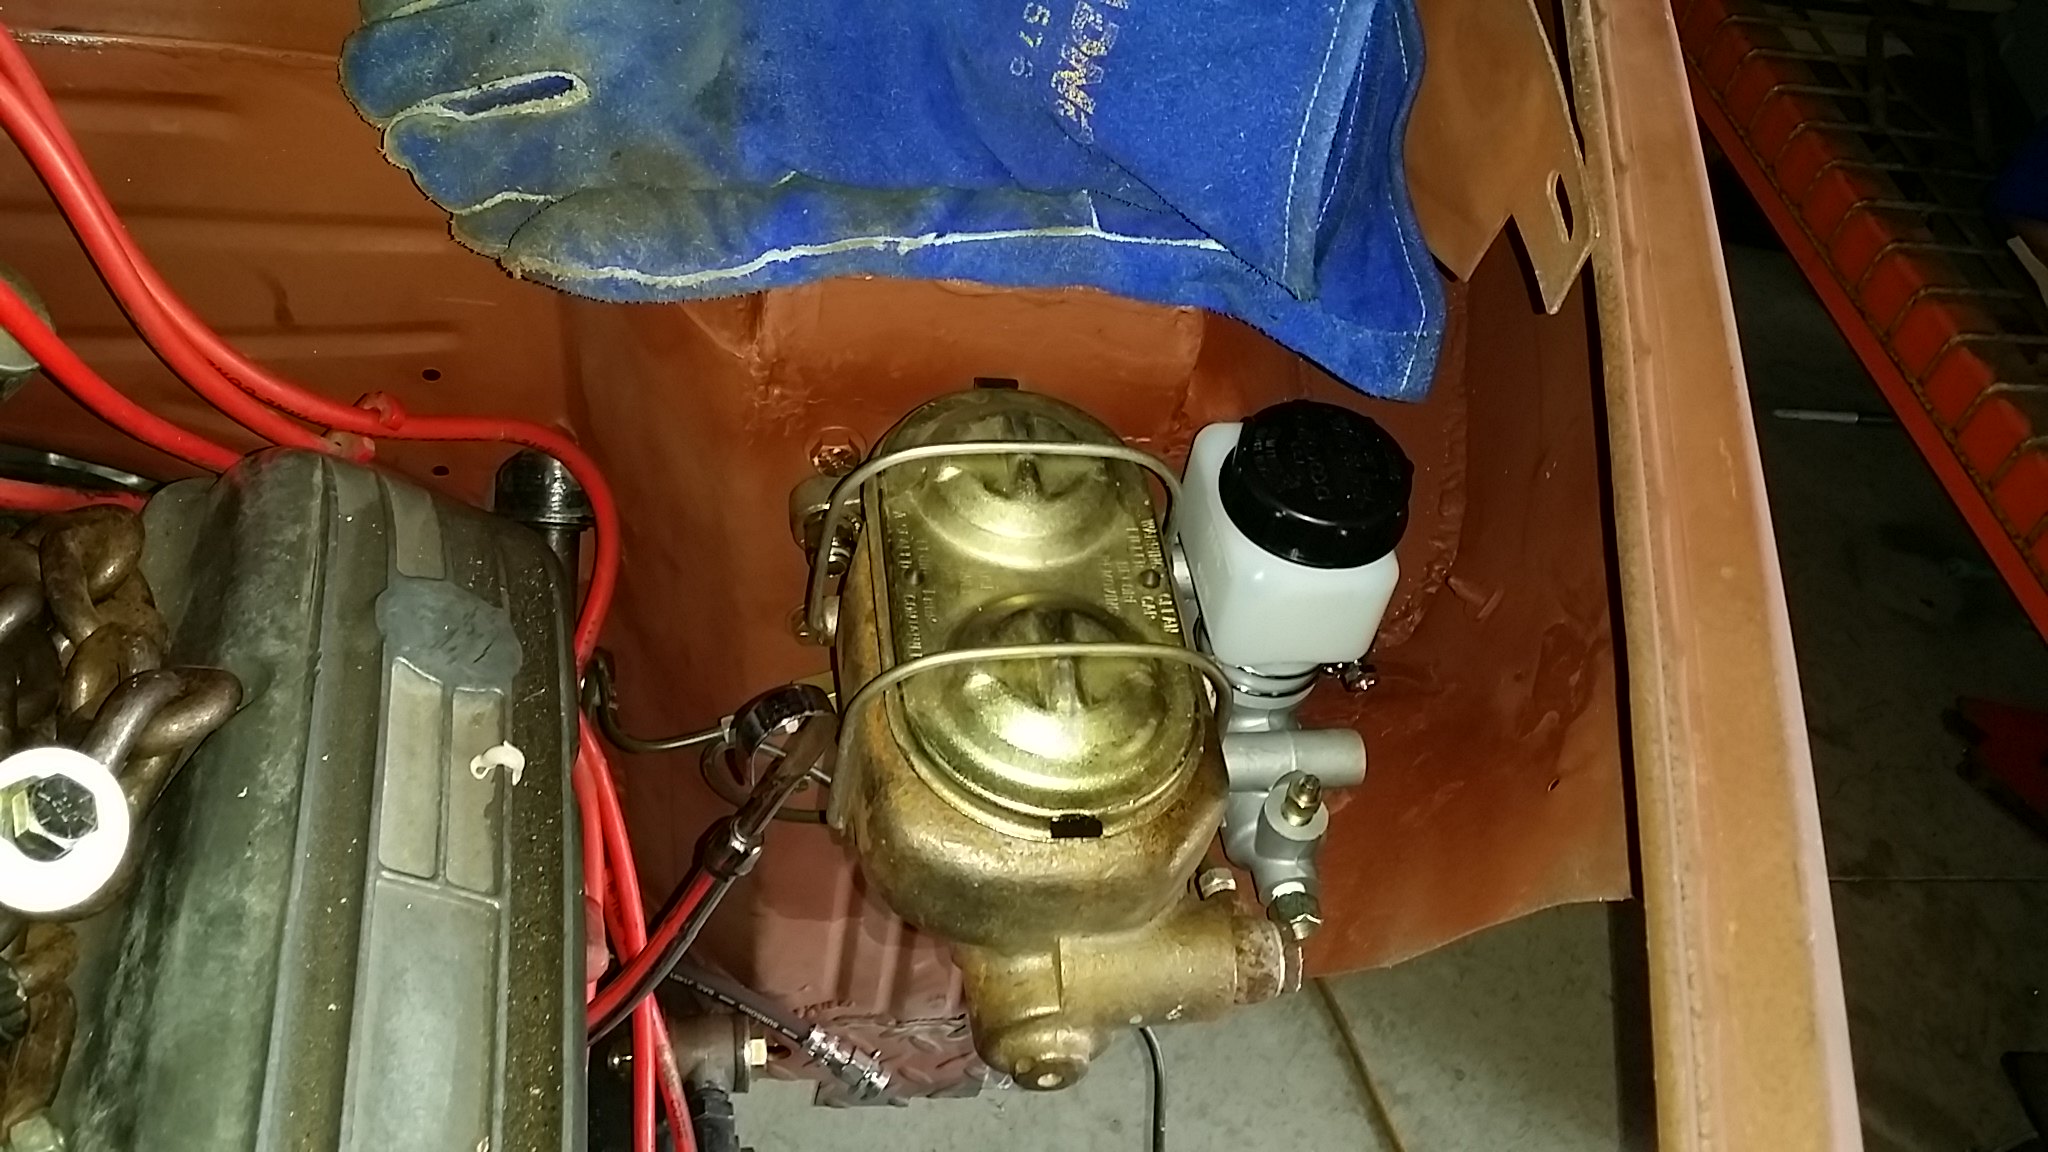 20160808_124338 by Ben Modified, on Flickr[/IMG] |
|
Went to a small local car show today!
[IMG]  20160820_073522 by Ben Modified, on Flickr[/IMG] [IMG]  20160820_092322 by Ben Modified, on Flickr[/IMG] http://www.BenModified.com |
so cool next to the lambo :D
|
I am making a big push to get this truck finished up. I have it up on the lift to cross things off a long list of minor items. I am also going to pull the cab off to finish up some welding on the underside.
[IMG]  20160913_172307 by Ben Modified, on Flickr[/IMG] First on the list is sectioning out a 4" section of the under seat A/C compartment. It is deeper than I need and cuts into my ground clearance. [IMG]  20160913_172112 by Ben Modified, on Flickr[/IMG] [IMG]  20160913_172123 by Ben Modified, on Flickr[/IMG] Also, finally getting around to finishing the bottom of the doors and moving the lower hinge up a few inches. Can't wait to trim off all that extra metal. [IMG]  20160913_172223 by Ben Modified, on Flickr[/IMG] Here are a few shots of the underside. [IMG]  20160913_104525 by Ben Modified, on Flickr[/IMG] [IMG]  20160913_104514 by Ben Modified, on Flickr[/IMG] While I am at it, I will check that every nut and bolt is tight. http://www.BenModified.com |
Todays progress. I was able to finish sectioning the A/C Compartment. The front and back are welded in. I am going to wait to get the cab off before welding the sides.
[IMG]  20160914_162149 by Ben Modified, on Flickr[/IMG] The vents will eventually go out the front of the compartment and up thru the floor [IMG]  20160914_163958 by Ben Modified, on Flickr[/IMG] Made the final rough cut on the bottom of the door [IMG]  20160914_174639 by Ben Modified, on Flickr[/IMG] Also cut out the lower hinge. Tomorrow I will clean up the metal around it and relocate it up a couple of inches.  20160914_174650 by Ben Modified, on Flickr http://www.BenModified.com |
Spent the entire day moving the lower hinge on the passenger door, as well as capping off the lower section of the door.
First, I had to modify the mounting pad to angle the hinge [IMG]  20160915_093612 by Ben Modified, on Flickr[/IMG] Cut a piece of 3/16" flat bar to weld to the new mount area. Tapped the holes to accept the stock screws. [IMG]  20160915_150019 by Ben Modified, on Flickr[/IMG] Then trim up the door to accept the original hinge mount section from the further down door. [IMG]  20160915_102203 by Ben Modified, on Flickr[/IMG] The hinge is in place [IMG]  20160915_150033 by Ben Modified, on Flickr[/IMG] Cut out a piece of metal to cap off the bottom of the door [IMG]  20160915_154705 by Ben Modified, on Flickr[/IMG] Welded in along with a piece of small round bar to give it a blunt edge [IMG]  20160915_171104 by Ben Modified, on Flickr[/IMG] Just need to finish off the bottom of the nose where it meets the door and fab a channel on the inside of the door to accept weather strip along the bottom [IMG]  20160915_173703 by Ben Modified, on Flickr[/IMG] [IMG]  20160915_173914 by Ben Modified, on Flickr[/IMG] http://www.BenModified.com |
Looks cleaner now!
|
Drivers door is done
[IMG]  20160924_123643 by Ben Modified, on Flickr[/IMG] [IMG]  20160924_123814 by Ben Modified, on Flickr[/IMG] [IMG]  20160924_130208 by Ben Modified, on Flickr[/IMG] http://www.BenModified.com |
Putting everything back together. Road trip on Saturday.
[IMG]  20160927_172622 by Ben Modified, on Flickr[/IMG] [IMG]  20160928_160251 by Ben Modified, on Flickr[/IMG] [IMG]  20160928_161540 by Ben Modified, on Flickr[/IMG] http://www.BenModified.com |
The suspension is back on and the brakes are bled.
[IMG]  20160929_185357 by Ben Modified, on Flickr[/IMG] Also made an addtional support for the exhaust system [IMG]  20160929_185500 by Ben Modified, on Flickr[/IMG] Re-installed the doors along with the windows and frames [IMG]  20160929_185334 by Ben Modified, on Flickr[/IMG] And wrapped the exhaust more completely, near the engine mounts. [IMG]  20160929_174459 by Ben Modified, on Flickr[/IMG] Changed the oil in the rear axle Repacked the wheel bearing grease up front Repaired a few pin holes in the sheet metal under the windshields Added a scoop on the underside to direct additional air to the engine Installed several rubber coated clamps on the brake lines and shifter cable http://www.BenModified.com |
Front axle looks good now in chrome and black
|
Quote:
Thanks! Ready to hit the road [IMG]  20160930_174001 by Ben Modified, on Flickr[/IMG] http://www.BenModified.com |
Some footage from my Road Trip to Cruisin the Coast in the VW Single Cab Street Rod
http://www.BenModified.com |
Holy smoke, looking gooooood!
|
Quote:
Thanks! I have never been completely happy with the headlights on the truck and decided to try out a different set. They are Model A reproductions and will be mounted near the wheels and will turn with the steering. They will also be positioned near the trucks original location when pointed straight ahead. Made the mounting brackets today. Started with a paper template. [IMG]  20161122_111058 by Ben Modified, on Flickr[/IMG] Then cut the brackets out of a piece of scrap [IMG]  20161122_111136 by Ben Modified, on Flickr[/IMG] [IMG]  20161122_123855 by Ben Modified, on Flickr[/IMG] [IMG]  20161122_125929 by Ben Modified, on Flickr[/IMG] Painted the brackets and will install with the headlights tomorrow. http://www.BenModified.com |
I mounted the headlights today but am not happy with the way they look. Too far apart and too conservative.
[IMG]  20161123_084012 by Ben Modified, on Flickr[/IMG] Decided to play around with the original headlights again [IMG]  20161123_143014 by Ben Modified, on Flickr[/IMG] [IMG]  20161123_144118 by Ben Modified, on Flickr[/IMG] [IMG]  20161123_153718 by Ben Modified, on Flickr[/IMG] Also experimented with some motorcycle lights [IMG]  20161123_164014 by Ben Modified, on Flickr[/IMG] Possibly recessed into the nose at an angle following the body line [IMG]  20161123_164503 by Ben Modified, on Flickr[/IMG] Any suggestions? [IMG]  20161123_165046 by Ben Modified, on Flickr[/IMG] http://www.BenModified.com |
Can't you embed them in the chasis like the Original Transport van has?
 |
Quote:
Unfortunately, there are clearance issues on the inside of the cab and the steering arm would cross the path of the light as would the wheels when turning. |
Quote:
This looks best though, and maybe the look is conservative but it's the ONLY conservative thing on this whole project. |
For a variety of reasons, I went with the repurposed vw lights and the spindle mounted single motorcycle lights
[IMG]  20161125_165147 by Ben Modified, on Flickr[/IMG] Finished the wiring on the headlights today. The first photo is just the LEDs, second dims and third brights with the spindle mounted lights also. [IMG]  20161128_172257 by Ben Modified, on Flickr[/IMG] [IMG]  20161128_172313 by Ben Modified, on Flickr[/IMG] [IMG]  20161128_172327 by Ben Modified, on Flickr[/IMG] http://www.BenModified.com |
|
|
I took the Single Cab to a 3 day Caffeine and Octane car show on Jekyll Island GA. Video link below
[IMG]  20170317_101512_resized by Ben Modified, on Flickr[/IMG] https://www.youtube.com/watch?v=NDval6_uaxw&t=25s |
| All times are GMT +1. The time now is 21:26. |
Powered by vBulletin
Copyright ©2000 - 2025, Jelsoft Enterprises Ltd.

